
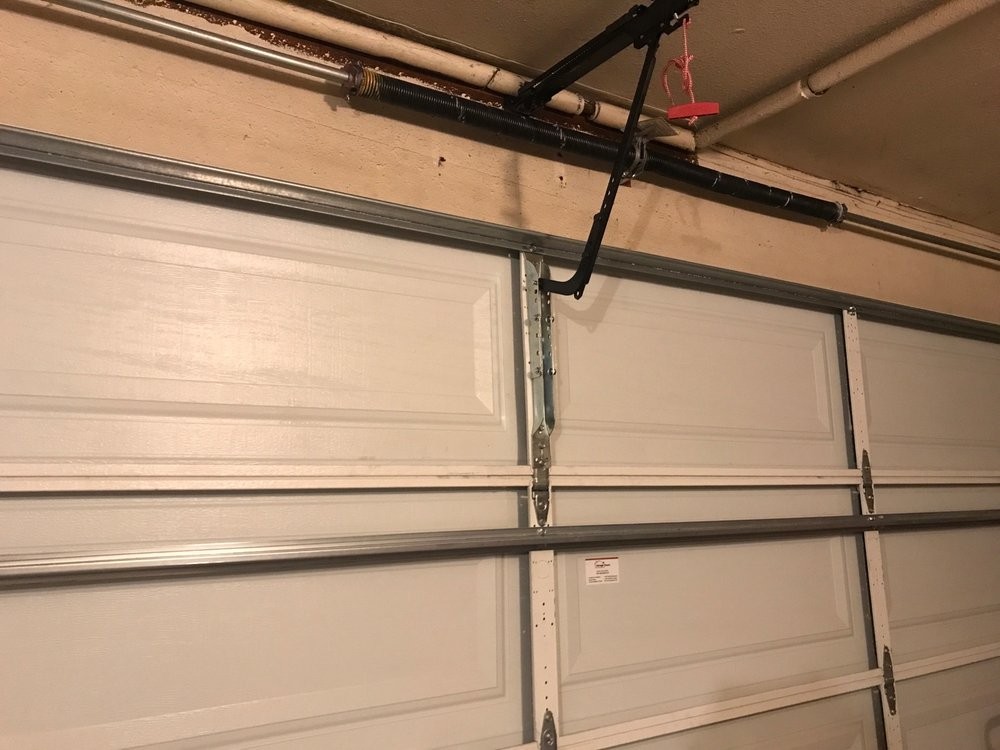
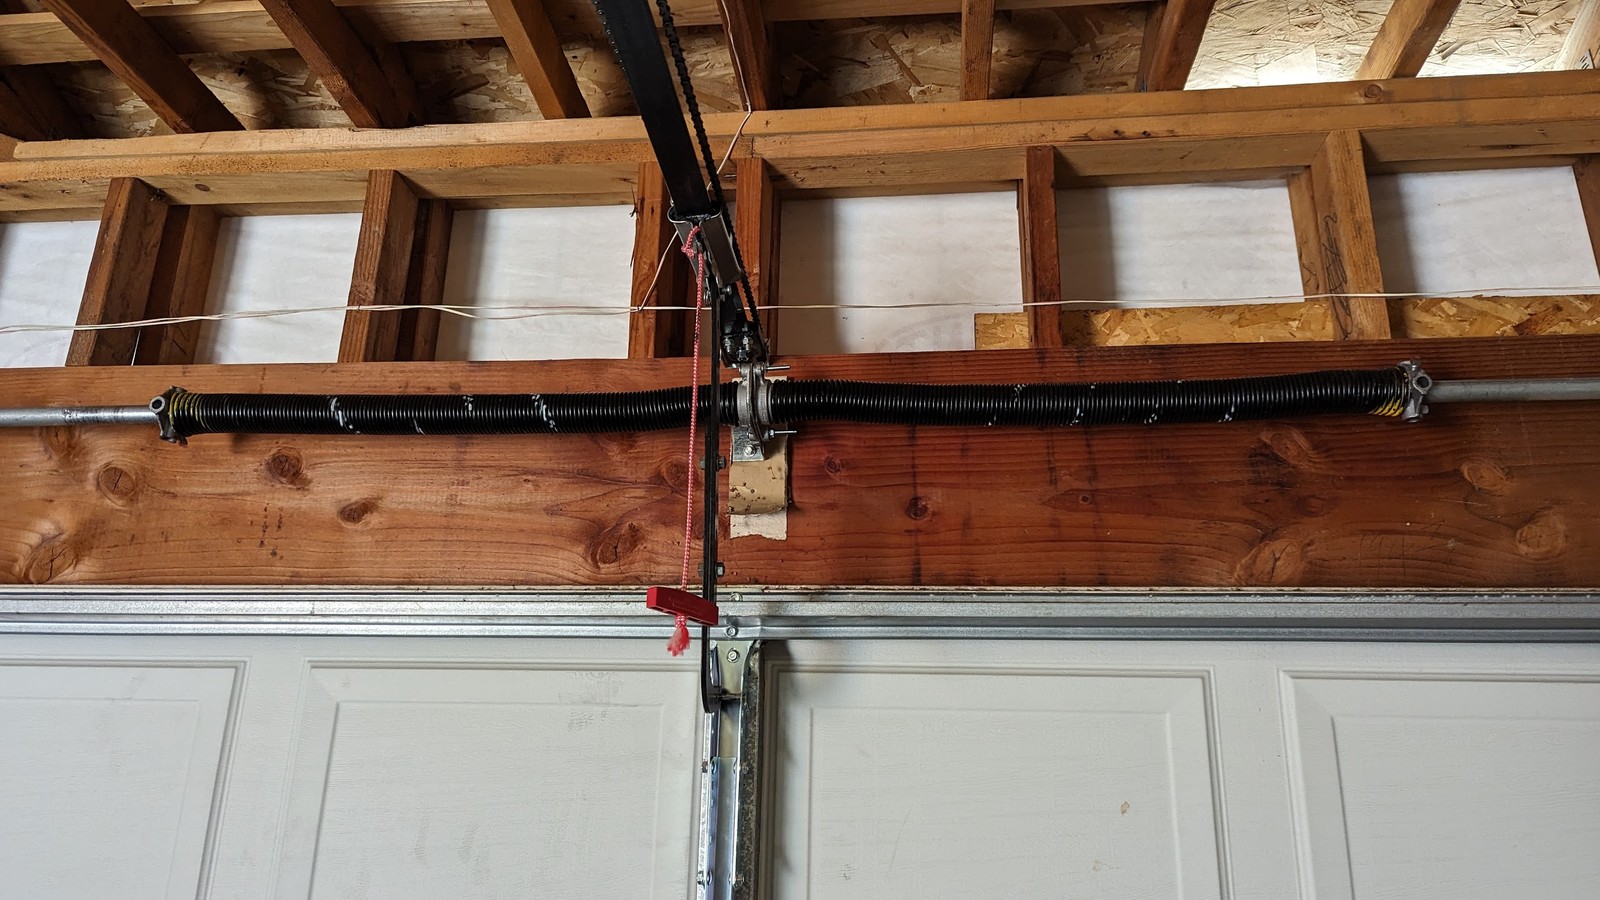
Installing a garage door opener means mounting the rail and motor, connecting the trolley and arm to the door, wiring the wall control and safety sensors, then setting the travel limits. Before you start, have a technician confirm the springs are good and the door is balanced. Never adjust the springs yourself.
Before you start
Have a technician check the springs and door balance first. An opener installed on an unbalanced door or against weak springs can be unsafe and wear prematurely. New residential opener installations in California require battery backup. Check the opener's approved door type, size and mounting requirements before buying. Once compatibility and door condition are confirmed, gather a power drill, screwdrivers, an adjustable wrench, a level, a tape measure, a ladder and safety glasses.
The installation sequence
This is a planning outline, not a substitute for the supplied manual. Disconnect electrical and backup power before wiring or assembly. Mounting must use structural framing and the manufacturer's hardware; new outlets or fixed electrical wiring need an electrician.
- Unbox the opener and check the parts against the manual.
- Assemble the rail and attach it to the motor unit.
- Slide the trolley onto the rail and attach the chain or belt.
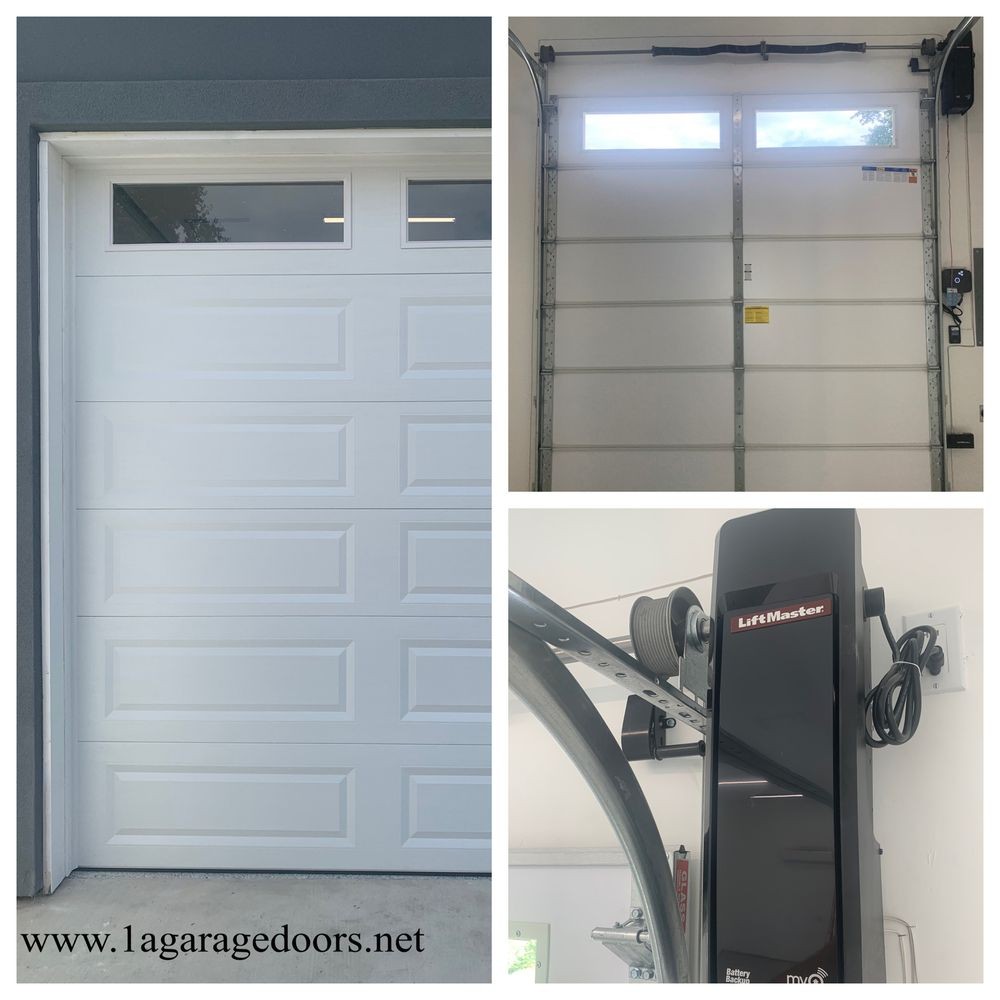
- Mount the header bracket and overhead supports to sound structural framing at the specified locations, then hang the rail and motor with the supplied or specified hardware.
- Install the wall control within sight of the door and out of children's reach at the manual's minimum height, then wire it as directed.
- Install the safety sensors on both sides of the door, no higher than six inches off the floor, and wire them in.
- Connect the correctly reinforced door bracket and arm, then set travel and learned force exactly as the manual directs. Never increase force to overcome a binding door.
- Before normal use, perform the manual's photo-eye and contact-reversal tests. Stop using the opener if either fails.
Where DIY installation runs into trouble
Precise sensor alignment, correct force settings and a properly balanced door are what separate a smooth installation from an opener that trips constantly or wears out fast. If the door is hard to lift by hand, or anything about the springs looks worn, stop and call a technician before you mount an opener to it.
Frequently asked questions
Can I install a garage door opener myself?
Many homeowners do. It involves electrical connections and precise alignment, so if you are not comfortable with that, professional installation is the safer route.
How long does installation take?
It depends on the opener and your experience with the work. A professional install is generally quicker than a first-time DIY attempt.
What does professional installation include?
Mounting the opener, wiring the sensors and control, setting the limits and force, testing the auto-reverse safety feature, and checking the door's balance.
Can I reuse parts from my old opener?
Rarely. Rail, trolley and arm hardware are usually matched to a specific opener model, so a new opener typically comes with everything it needs.
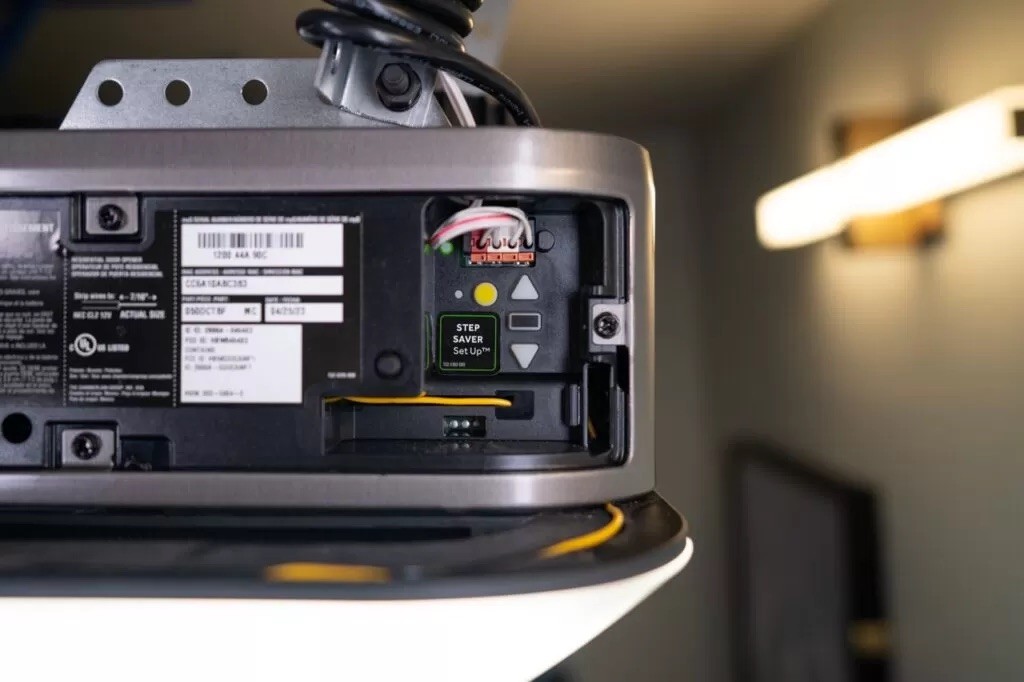
We install openers from LiftMaster, Chamberlain, Genie, Craftsman and Linear, including checking the springs and door balance first. Call (916) 838-8182 or see opener repair and installation.


Share:


